Welcome to my blog. I am excited that this is my first post! I've wanted to start one after being inspired by so many talented people out there in the blogosphere and decided that this holiday season is the perfect time to start!
I'll start with the holiday tablescape that I submitted to the
Censtational Girl Tablescape Contest.
This year, we had a very small group for Thanksgiving and I wanted to do something that felt elegant and special.
Living in a small apartment in the Bay Area, we don’t have much room for entertaining so we set up card tables on one side of the main room. I wanted to design a table that evoked the cool, pale colors of northern California beaches in fall and winter, but that still had some holiday elegance in the silver and crystal details. It has high and low elements: burlap and driftwood paired with an antique tablecloth and silverware, fine china and chargers.
I love dining rooms with elegant chandeliers and the height they give to a room, so I suspended a piece of driftwood from the ceiling with fishing line, then hung crystals from it over the table. I layered some store bought tablecloths over the card tables, then added an antique art deco tablecloth and a table runner. The runner is made from burlap, that I cut and sewed into strips. I wove it with silver lace and white ribbon, then sewed tiny pearls onto it. The total cost of the materials was $24 from my local craft and fabric store.
The dishes and glasses were purchased from a thrift store last year and I love getting an excuse to use them. We recently found the silverware at an antique store in Sebastapol, CA whose profits went to feeding the hungry. Love that!
I made the faux mercury glass vases from $1 drinking glasses from a thrift store. I very lightly sprayed each glass with black spray paint, but kept the paint splotchy and light. Then, I randomly silver leafed the glass, leaving parts of the glass exposed. I've done this for candle holders as well, but silver leafed the interior of the glass as well which is lovely when illuminated by a votive. Here I only silvered the outside of the glass because I had to fill them with water. A little burlap string tie and it is complete!
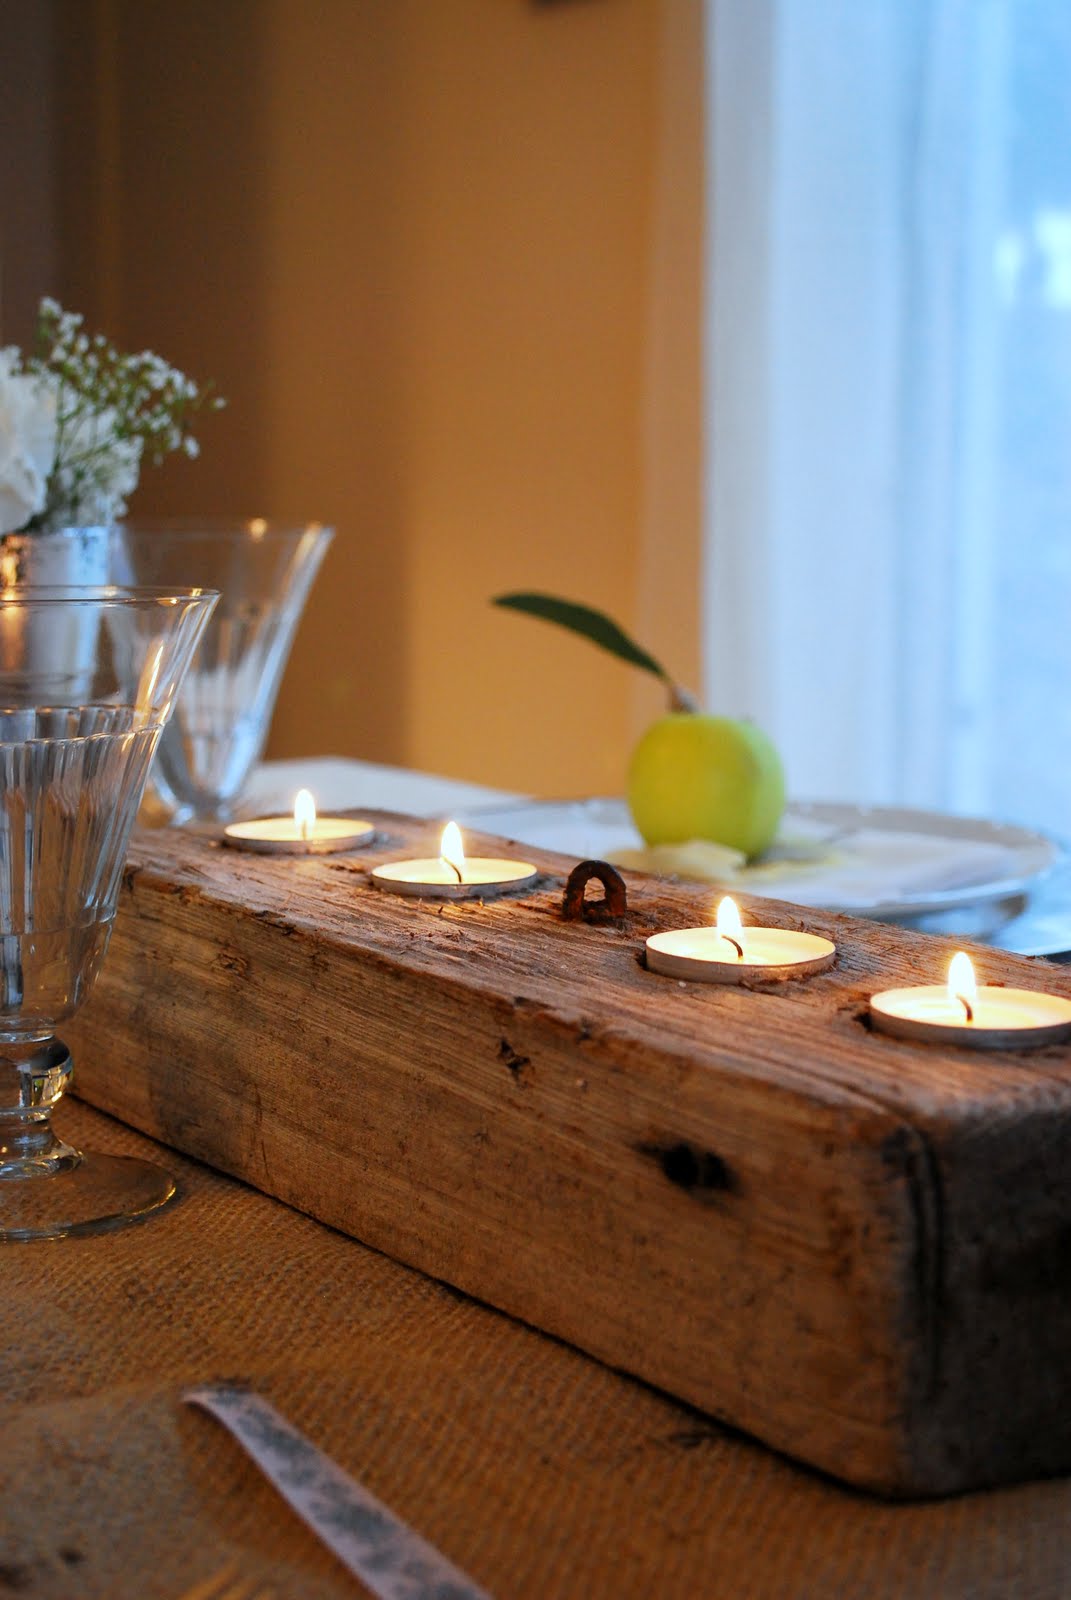
My favorite part of the table design is the driftwood candle holder. I found this piece of driftwood in Half Moon Bay. I love the rusty iron ring in the center. Using a 1.5" wood boring drill bit (and a strong boyfriend to hold the wood steady), I drilled holes for the votive candles. Super simple (and free)!
Lastly, I used green apples and leaves for the place cards. I wanted a pop of bright color to go with the pale browns, whites, and silvers. I just hot glued the leaf onto the apple stem and covered it with a burlap string.
Of course, the best part about this table was sitting around it with loved ones and partaking in great food! The table is gone now, replaced with our Christmas tree - more on that in the next post!
All the best!