Thursday, April 28, 2016

Brightening Up a Drab Bench

This was one of those projects that I doubted until its completion.  I could envision the final product but at every stage along the way, I just though "I don't know about this."  But, I'm glad I kept going because I LOVE it now!

This bench is really well made, using dowel joinery instead of nails or screws.  It also weighs a ton.  But, the wood types and grains were mismatched in a rather unpleasant way and it had a high gloss finish.  It was the perfect candidate for paint.


After a good sanding and cleaning, the bench got a quick coat of a custom Behr color, a slate-y blue with gray undertones.  Then, two coats of Behr's Smokey Cream.  This is one of my favorite neutrals and is currently the color of my dining room.  On the bench, with the blue peeking through, it reads bright white, but in my dining room has a pinkish gray hue during parts of the day.


A light distressing lets the blue and wood tones pop through.


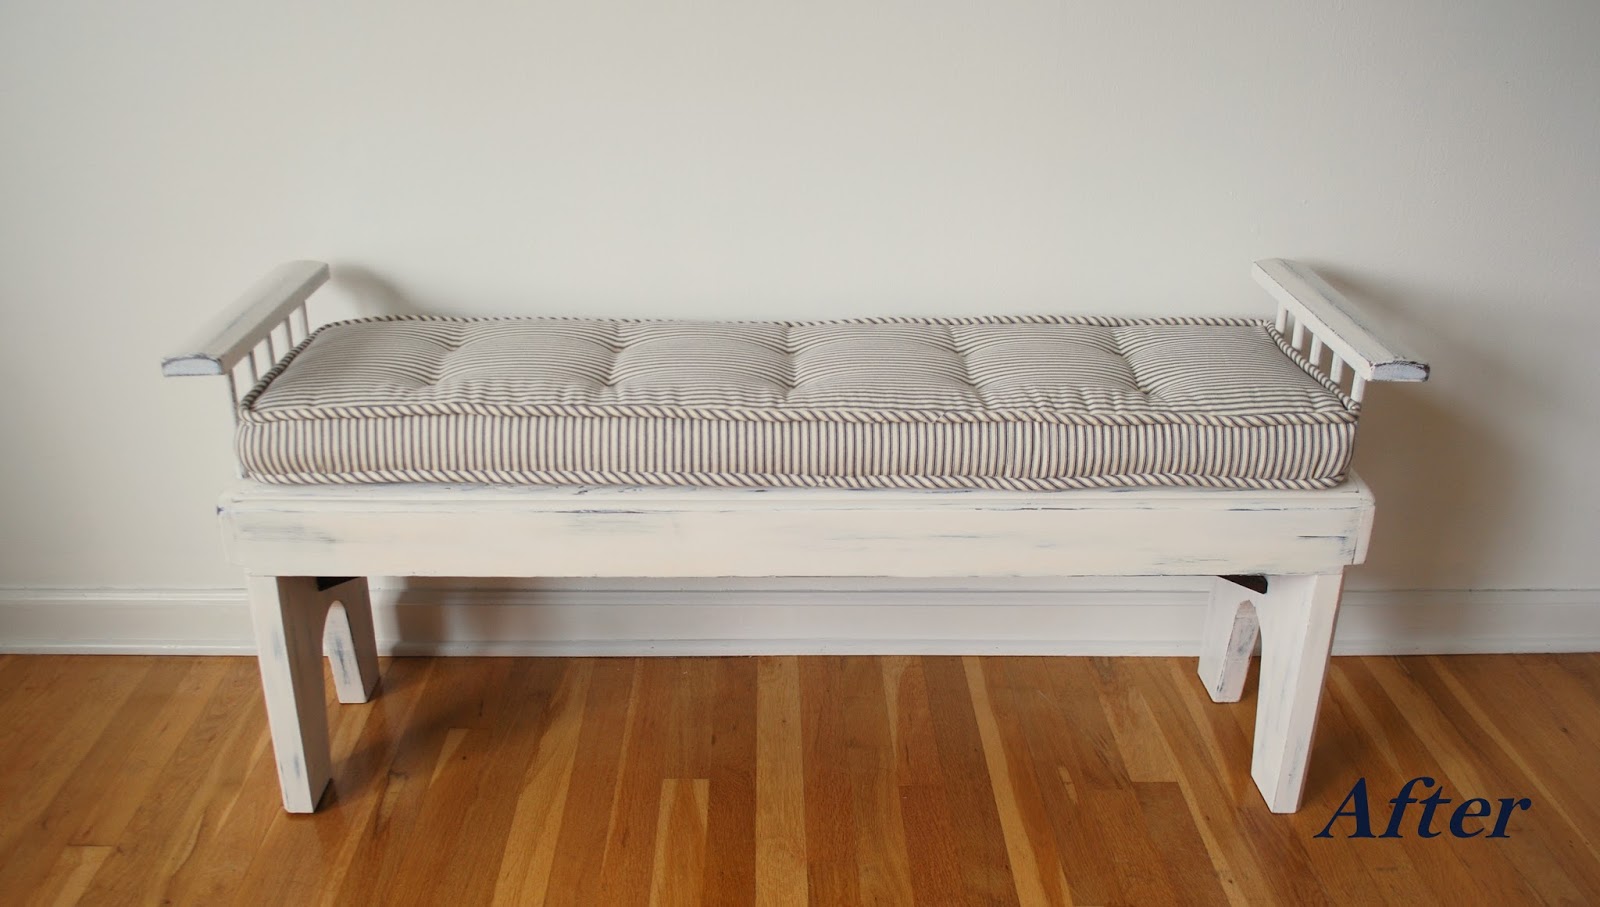
The box cushion in cotton ticking makes this a comfy place to rest.  I picture it in a hallway or entry as a perfect spot to take off your shoes after a long day.


I staged the bench with a piece of macrame driftwood.  I love the look of the soft string weaving with with hard driftwood.  I still have to come up with a purpose of it, but for now I enjoy looking at it! These pieces are destined for The Blend eclectic furniture and decor festival in Corvallis, Oregon in August.


Friday, April 22, 2016

Vintage School Chairs

Who doesn't love a good vintage schoolhouse chair!  When I got them, the metal frame was its standard tan and the plywood seats and back were two different tones.


After what felt like hours sanding off the old finish from the wood, I restained them in a warm red oak.  They still don't quite match but they are close.  

For the metal frames, I painted one coat of a light green paint, then a coat of blue, then sanded the blue away to expose the green paint, the original tan paint, and even the bare metal under it all.  It's all finished with a coat of polycrylic.  These chairs are for The Blend, a furniture and home decor show in Corvallis, August 19 & 20.


Friday, April 15, 2016

The Chippy Chair

I've been wanting to try my hand at creating a chipped, distressed paint treatment and decided that this sweet and sturdy wood chair would be the perfect candidate.
Structurally, the chair was in great condition but any finish had long since worn away and the wood was stained and blotchy.

To get this chippy finish, I layered paint over wax then distressed it with a heat gun.  I did a small section at a time.

How to:
With a cloth, wipe on an all natural furniture wax.  It should not be uniform or even, but there shouldn't be thick chunks of wax either.

Immediately apply the paint.  I used Behr Premium Plus paint + primer.

Using the heat gun, set to low and keeping it well back from the surface, dry the paint.  You can also let it air dry but using the heat gun saved time.

Once dry, switch the heat gun to high and hold it near the surface to bubble the paint.  Do this more in areas that would receive the most wear, and less in others.

Let the paint cool, then gently scrape the section with a putty knife to make the raised paint chip off.  The wax will resist the paint and let it come cleanly off the wood.

Clean all the paint chips off and seal with polycrylic.

**When using a heat gun on paint, be sure to work in a well ventilated area and wear heavy gloves and a mask.

I love that this chair looks like it has been sitting in a barn with a well worn patina, but instead of a lead paint risk, it was done with beeswax, non-VOC paint, and is sealed with a water based sealer.