
The internet is full of instructions for making dessert stands . . . . . and here’s another one!
My three tiered dessert stand is made from plates from the
thrift store, an ice cream sundae dish, and glass candle sticks from the dollar
store. They are bonded together with a
clear epoxy. Be sure to use an epoxy
that does not include silicon, which will keep it from hardening.

- Clean and dry the glassware.
- Mix the epoxy according to the package instructions.
- Spread epoxy on the bottom of the sundae dish and center on the bottom of the large plate.
- Epoxy the tops of each candlestick and center on the bottom of the medium and small dishes.
- Allow the epoxy to set. You now have 3 single tiered stands, small, medium, and large.

- Spread epoxy on the bottom of the candlestick of the medium set and center on the top of the large plate.
- Epoxy the bottom of the candlestick of the small set and center on the top of the medium plate.
- Allow to set.
I used the sundae dish upside down to make a wider
base. I love how the plates are all
different as well! The glassware cost
about $10 and the epoxy $5.
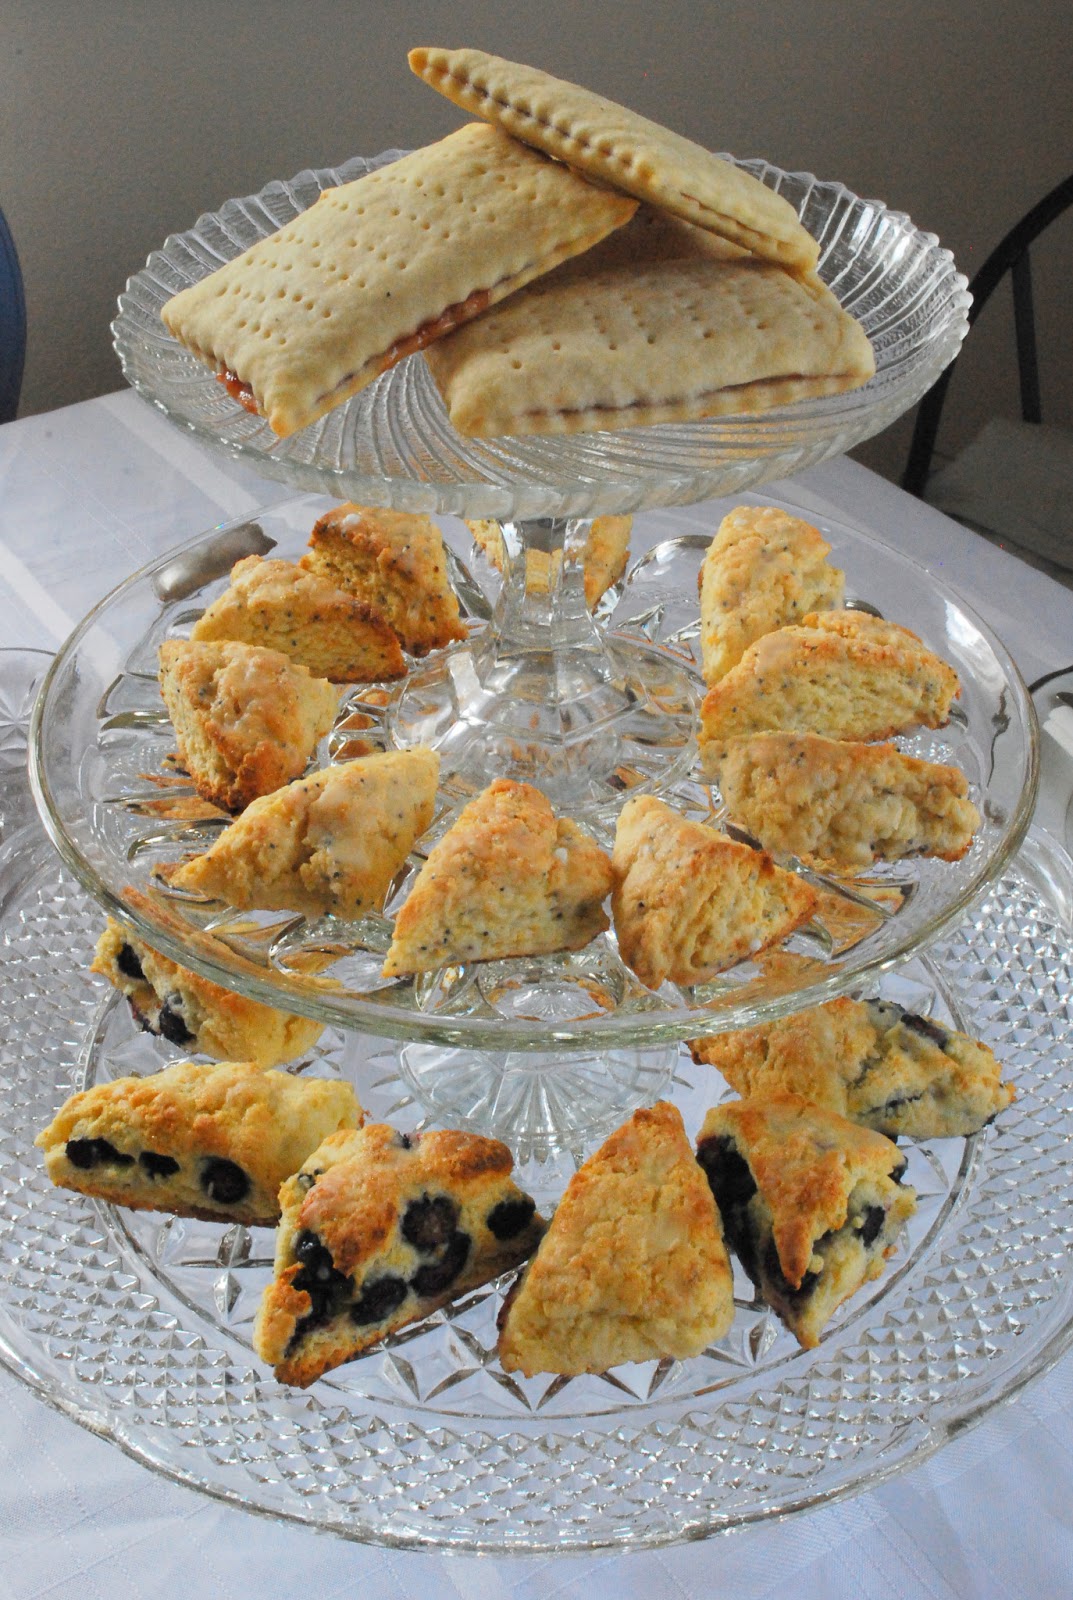
We set the stand up for Easter breakfast. The scones are a Cook’s Illustrated recipe,
which makes the best scones I’ve ever had.

The punch is one bottle of Naked Berry Veggie smoothie, 3 cups of orange
juice, and one 33 oz bottle of lime seltzer.
I think it would be great with a sparkling rosé for an adult version
too.

So yummy! Thanks for breakfast :)
ReplyDelete